
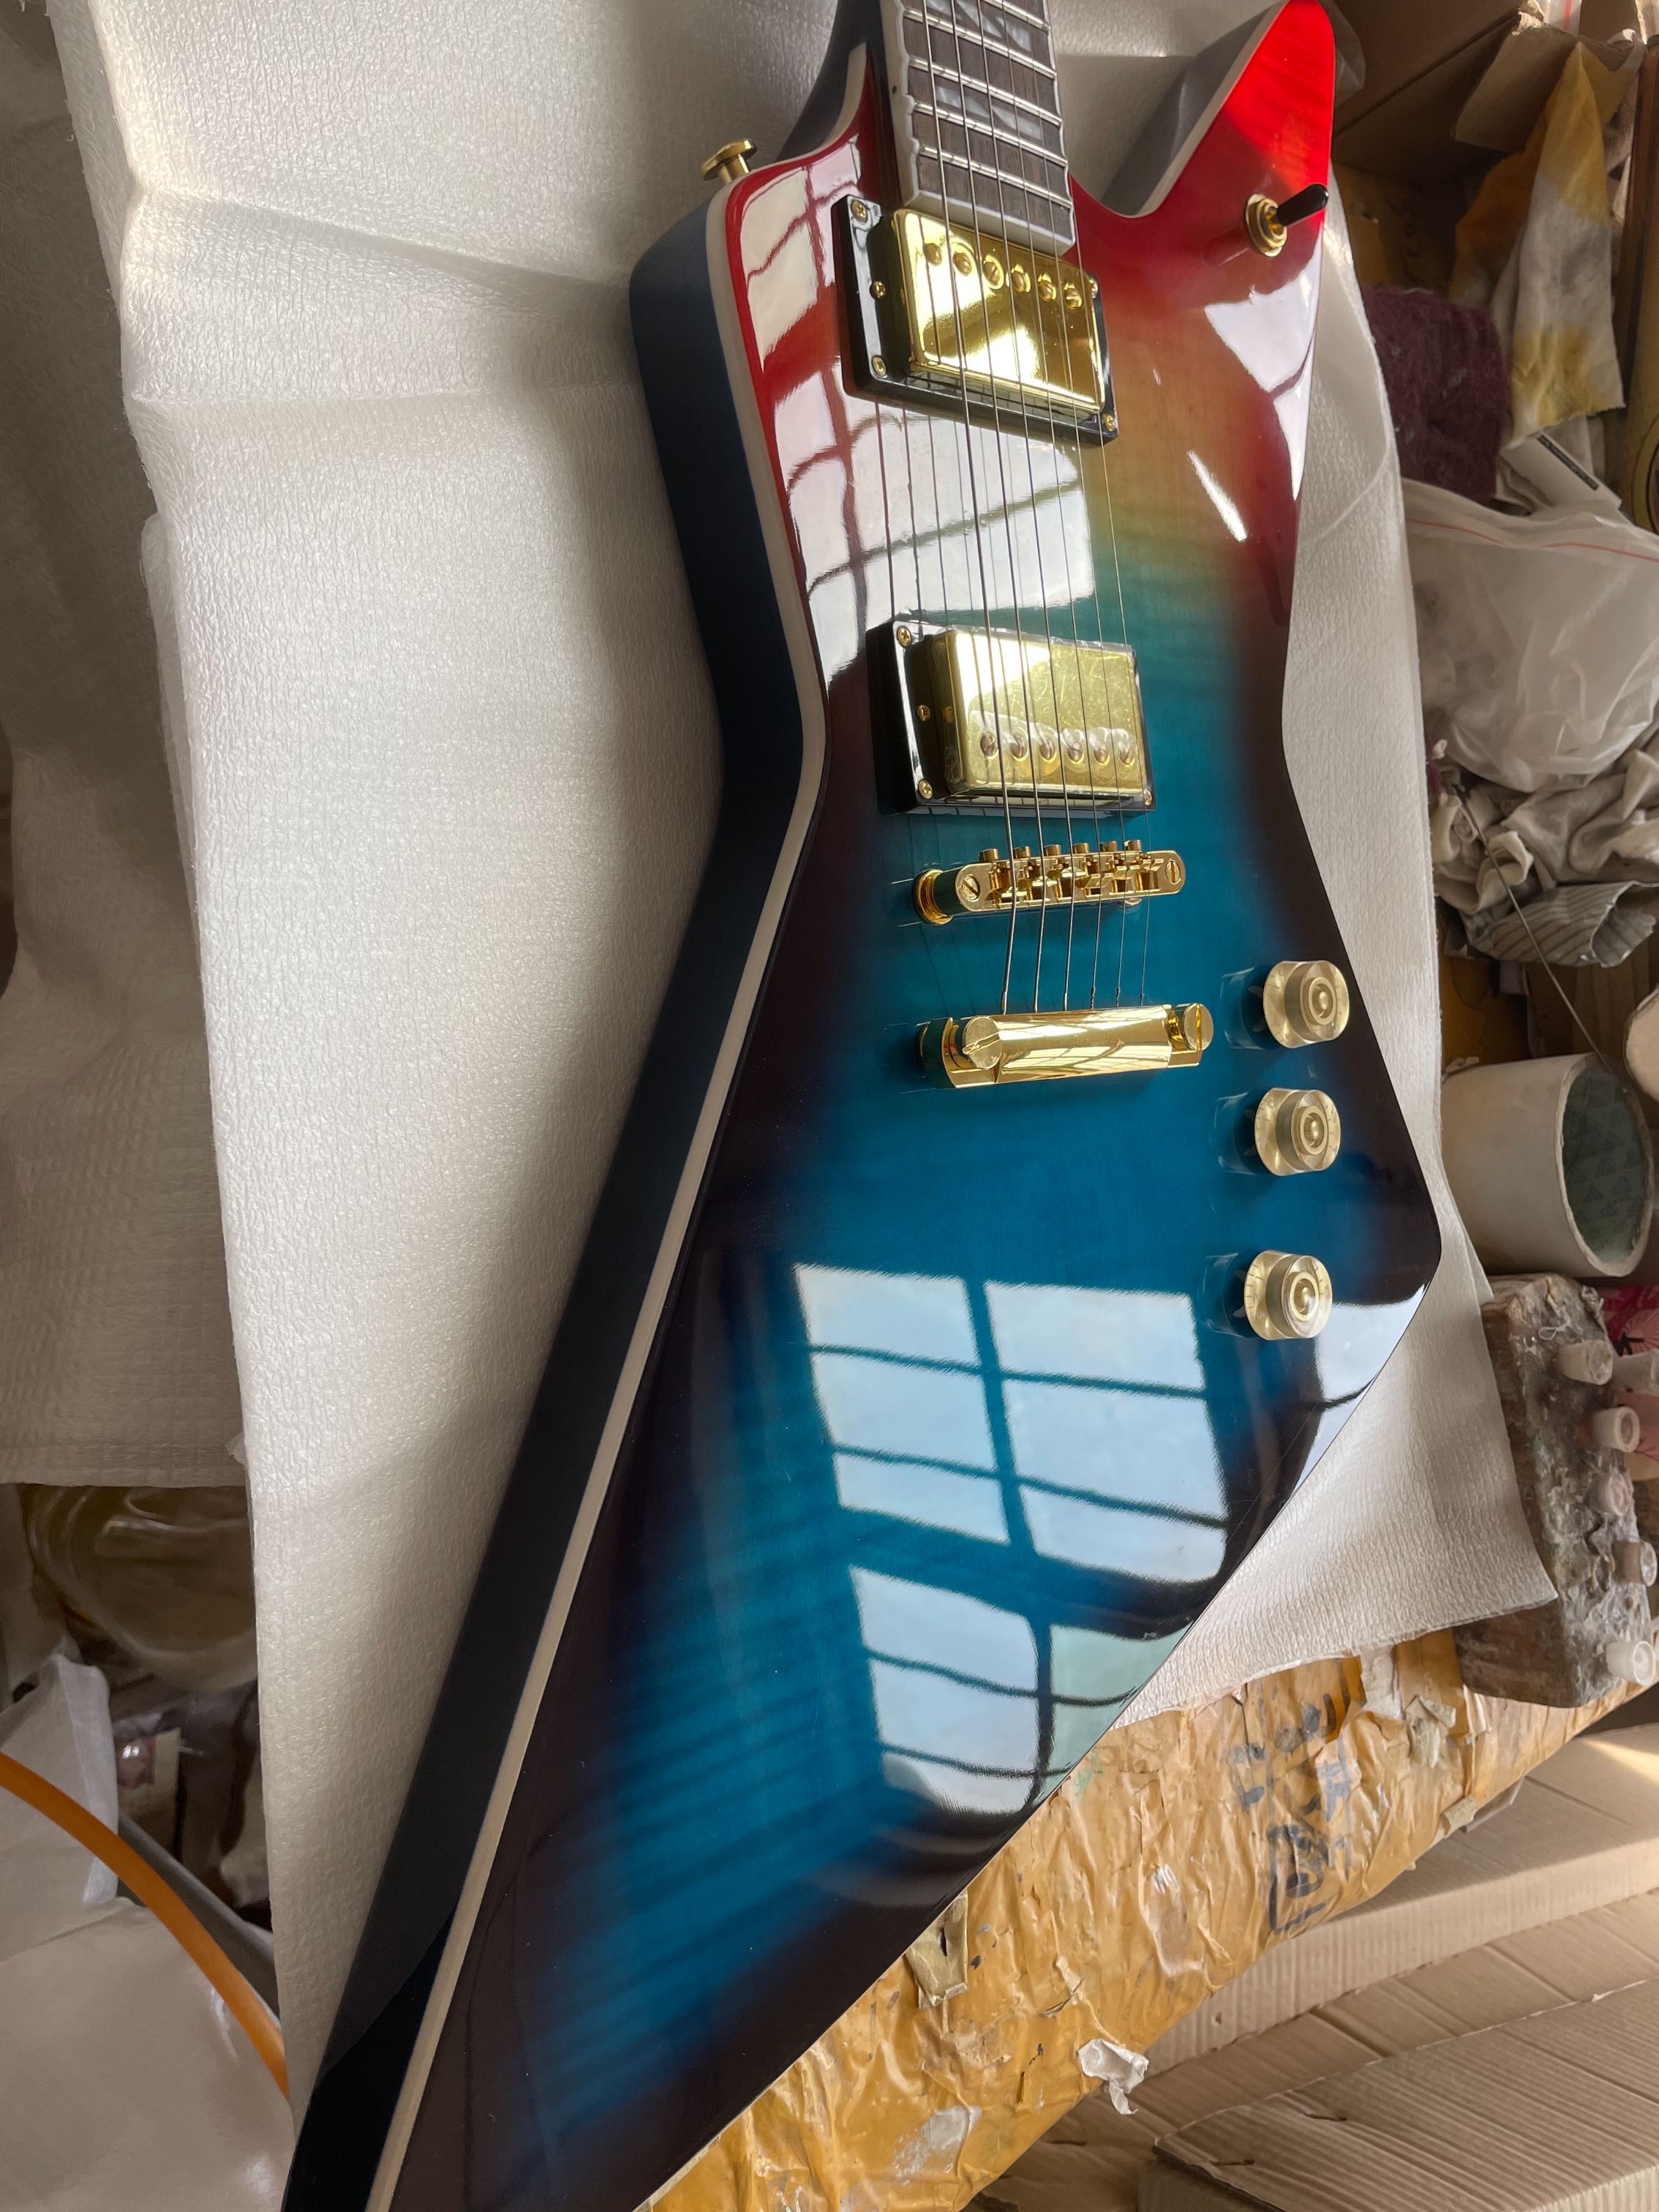
Building a custom guitar is more than a hobby—it’s a deeply personal expression of musical identity. Whether you’re drawn to the aggressive sustain of a high-output bridge humbucker or the ergonomic contouring of a classic V-shaped body, assembling your own instrument from an electric guitar kit offers unmatched creative control. This guide walks you through a strategic, step-by-step process that prioritizes tonal integrity, structural reliability, and stylistic authenticity—especially when channeling the legacy of Dimebag Darrell, whose signature guitars fused aggressive aesthetics with surgical precision in pickup placement, neck joint design, and vibrato responsiveness.
Unlike mass-produced instruments, a custom guitar built from a quality electric guitar kit allows you to select every critical component: body wood (e.g., alder for balanced resonance or mahogany for warmth), neck profile (C-shape vs. thin U for speed), fretboard radius (12" for bending comfort), and hardware grade (Gotoh vs. Schaller). Each choice directly impacts string tension, harmonic response, and palm-muting articulation—factors central to modern metal and hard rock performance.
Start with a verified, CNC-machined kit featuring precise routing templates and pre-drilled mounting holes. Avoid kits with inconsistent fret slotting or poorly aligned truss rod channels—these introduce intonation drift and fret buzz no amount of setup can fully correct.
When selecting pickups, consider Dimebag Darrell’s well-documented preference for high-output ceramic humbuckers with tight low-end focus and crisp upper-mid definition. His signature Dean ML models used custom-wound units with staggered pole pieces and Alnico V magnets in the neck position for singing leads—details easily replicated today using boutique winders like Seymour Duncan or Bare Knuckle. Pair them with a 500kΩ volume pot and 300kΩ tone pot to preserve treble clarity while retaining dynamic roll-off.
Wiring matters just as much as components. Use shielded, 22-AWG cloth-covered wire—not generic stranded copper—to minimize noise and preserve signal integrity across long cable runs inside the control cavity. Solder joints must be clean, concave, and flux-free; cold joints cause intermittent signal dropouts during aggressive stage movement.
Neck-to-body alignment is non-negotiable. Use a straightedge across the fretboard and bridge saddle to verify parallelism before final bolt tightening. Even a 0.3mm misalignment introduces string height variance across the scale length, undermining consistent string action and harmonic node accuracy.
Bridge selection deserves special attention. While Floyd Rose-style double-locking systems offer dive-bomb stability, they demand meticulous spring tension calibration and frequent retuning after heavy use. For players emulating Dimebag’s rhythmic precision and pinch-harmonic clarity, a hardtail Tune-o-matic bridge with brass saddles delivers superior sustain and tuning stability without complex maintenance.
Finishing isn’t cosmetic—it’s functional. A thin, catalyzed polyester or UV-cured acrylic finish preserves wood vibration better than thick polyurethane. Sand between coats with 600+ grit paper, and avoid buffing compounds that fill grain pores and dampen resonance.
Finally, invest in professional setup post-assembly: nut slot depth, saddle height, intonation, and truss rod relief must be dialed in using calibrated feeler gauges and a digital tuner—not guesswork. A properly set up custom guitar doesn’t just sound great—it responds intuitively, translating intent into tone with zero latency.
This approach transforms an electric guitar kit from a parts bin into a living instrument—one that honors tradition while enabling innovation, exactly as Dimebag Darrell did throughout his groundbreaking career.


